ESO Oathsworn Pit is one of the two dungeons available in the Scions of Ithelia DLC alongside the Bedlam Vile dungeon. Its physical entry point lies in the northern expanse of The Reach zone. To access this dungeon, one can either travel by foot or utilize the Group and Activity Finder feature, requiring possession of the Scions of Ithelia DLC.
This walkthrough guide will discuss the Dungeon and the ESO Oathsworn Pit Dungeon Bosses you will encounter. We will cover every detail related to it and tell you how to tackle these creatures (Boss characters) to get the most out of this dungeon. There are 3 main bosses and 3 secret bosses inside this dungeon. Let’s get started then.
Armor Set
There exist four Armor Sets inside the ESO Oathsworn Pit Dungeon. These sets are:
- Anthelmir’s Construct – A Monster Set Helmet
- Black-Grove Grounding – A Heavy Armor Set
- Sluthrug’s Hunger – A Medium Armor Set
- Cinders of Anthelmir – A Light Armor Set
Oathsworn Pit Dungeon Bosses
Inside the dungeon, you will encounter 3 main boss characters at different sections towards the end of the dungeon. Defeat them, and you move forward to fight secret bosses, which gives you rewards and buffs. These bosses are:
- Packmaster Rethelros and Malthil
- Anthelmir’s Construct
- Aradros the Awakened
In the following sections, we will discuss them in detail.

Tackling the Packmaster Rethelros and Malthil Boss
Packmaster Rethelros is the first boss within the dungeon, a prerequisite for advancing further. He is followed by his hound dog, Malthil. Rethelros presents a moderately challenging encounter with few attacks requiring caution. There are a few things that you need to keep in mind when fighting this boss.
- Rethelros doesn’t move much. This boss employs traps and arrows, while Malthil hunts players.
- Key tactics include avoiding traps and arrows, destroying the Protective Totem, and evading Rethelros’ charged and linear shots. The protective totem acts as a shield for both him and his companion.
- Malthil becomes enraged near Rethelros, posing a significant threat with her Heavy Attack.
- Keeping Rethelros and Malthil separated is crucial to success in the encounter.
Before engaging in the battle with the boss, you can find a hidden entrance that will take you directly to the first Secret Boss of the dungeon.
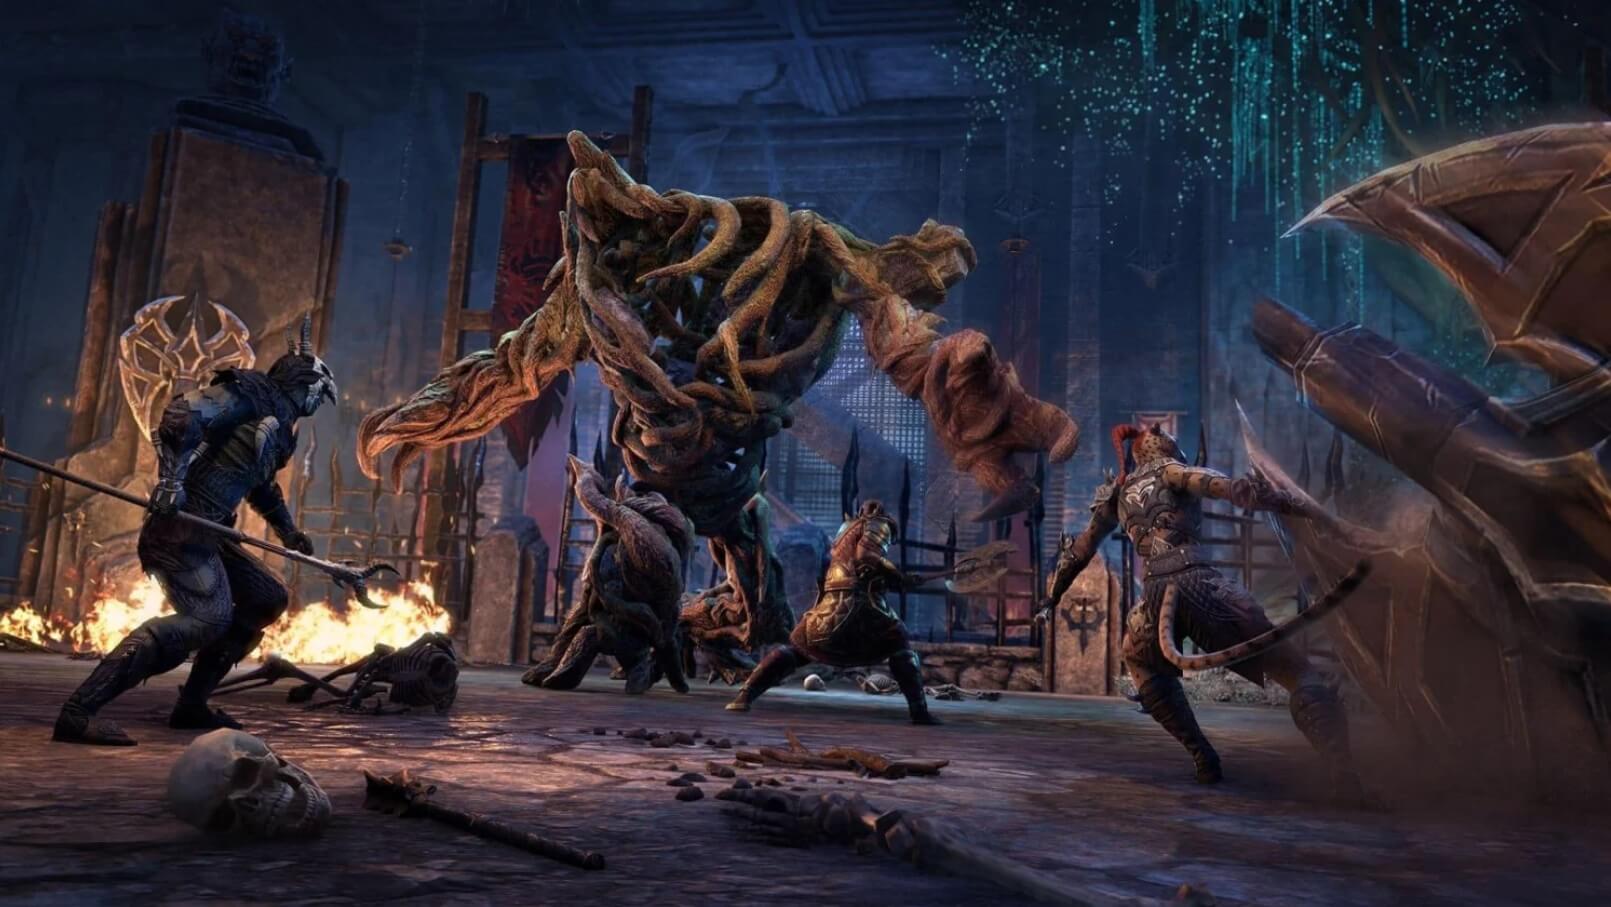
Tackling the Anthelmir’s Construct Boss
In the dungeon’s second area, Lodge of the Axe, you’ll confront Anthelmir’s Construct Boss. There is a hidden entrance that will take you directly to the Trial of Conquest. Here is how you are going to tackle this obstacle:
- Fight is relatively straightforward, focusing on battling a construct.
- Initially, Anthelmir poses a threat with fire shield and projectile attacks.
- Anthelmir summons Cindermoths, which target players and explode near them. Lead them to nearby barrels to create explosions, leaving a fire AOE.
- The construct’s primary early attack is a large AOE in front of it, wielding a giant axe. It throws the axe, creating another large AOE.
- While holding the axe, the construct can execute a heavy attack on a player. Players should block or dodge this.
- The construct gains a flamethrower-like attack, which the tank should divert away from the party.
Tackling the Aradros the Awakened Boss
Aradros the Awakened Boss is the final boss of the dungeon and can be found at the end of the final area known as the Lodge of the Forge. Before this battle ensues, try to find and finish the Trial of War.
- Aradros is a challenging boss with ground AOE attacks.
- His main moves:
– Charged Heavy attack; block or evade.
– Ground AOE causes fire damage on specific tiles.
– Charges at players, followed by a conal attack.
– Summons Awakened Fire enemies. - Try to avoid lava-filled tiles that explode.
- At 65% Health, it triggers a room explosion.
- At 50% Health, it becomes invulnerable and summons a fire orb.
- Defeat new enemies in an adjacent room to continue the fight.
- Aradros can awaken “The Smelter” Atronach to aid in battle.
- Once you kill all the new enemies, you can return to Aradros for fight, but its attacks would be intensified.
ESO Oathsworn Pit Dungeon Secret Boss
Oathsworn Pit contains three hidden bosses. Each boss corresponds to a trial that players must complete to earn beneficial buffs. The buffs obtained activate unique totems within the dungeon, aiding in the defeat of main bosses. The trials and their respective secret bosses are:
- Sluthrug the Bloodied – Trial of Blood
- Bolg of Wicked Barbs – Trial of Conquest
- Grubduthag Many-Fates – Trial of War
First Trial in Oathsworn Pit Dungeon – Trial of Blood
- Head to the North Western part of the map before the first boss fight to access the Trial of Blood.
- Interact with the Totem of Blood inside the cave to summon Sluthrug, the Bloodied Secret Boss.
- During the fight, the Tank role is crucial as Sluthrug’s light attacks are deadly.
- Defeating Sluthrug grants the Blooded Vitality Buff, increasing Healing Done and reducing Damage Taken.
- With the buff active, interacting with the Totem of Blood grants increased Max Health and retaliatory damage against nearby enemies.
Second Trial in Oathsworn Pit Dungeon – Trial of Conquest
- The Trial of Conquest in the dungeon’s second map requires lighting two braziers, one near Shurkulung and the other near a room before the second main boss.
- Once braziers are lit, players can return to face the second main boss. There will be an entry near it for the Trial.
- Inside, players face Bolg of Wicked Barbs, a teleporting archer boss who summons Spirits of Conquest and Spectral Archers.
- Defeating Bolg grants the Conqueror’s Vim Buff, enhancing Magicka and Stamina recovery.
- Activating Totems of Conquest in the Dungeon restores Ultimate every 2 seconds for players and nearby allies.
Third Trial in Oathsworn Pit Dungeon – Trial of War
- The Trial of War is the final challenge in Oathsworn Pit.
- Accessed before the main boss fight, it involves navigating to a forge-filled area and summoning Grubduthag Many-Fates.
- Grubduthag’s deadly attacks include a one-shot Heavy Attack and a meteor-like AOE attack.
- He also summons Flame Atronachs from forges, which players can counter by summoning their own allies.
- Defeating Grubduthag grants the Warrior’s Visage buff, enhancing Weapon and Spell Damage.
- This allows players to activate Totems of War, inflicting Warrior’s Wrath on targets and stacking War Weary for increased damage.
Conclusion
This was all about the The Elder Scrolls Online Oathsworn Pit Dungeon Guide. In it, we discussed what’s inside the dungeon, what boss characters you need to defeat, how to defeat them, and how to solve the puzzles. Don’t forget to purchase The Elder Scrolls Online (ESO) Gold from U7BUY to complete the dungeons smoothly in the game.