The infamous Elder Scrolls Online (ESO) White Gold Tower Dungeon is particularly hard to beat. This guide will teach you the bosses of this dungeon, the tips and tricks required to beat them successfully, and their weaknesses.
What is the White Gold Tower Dungeon?
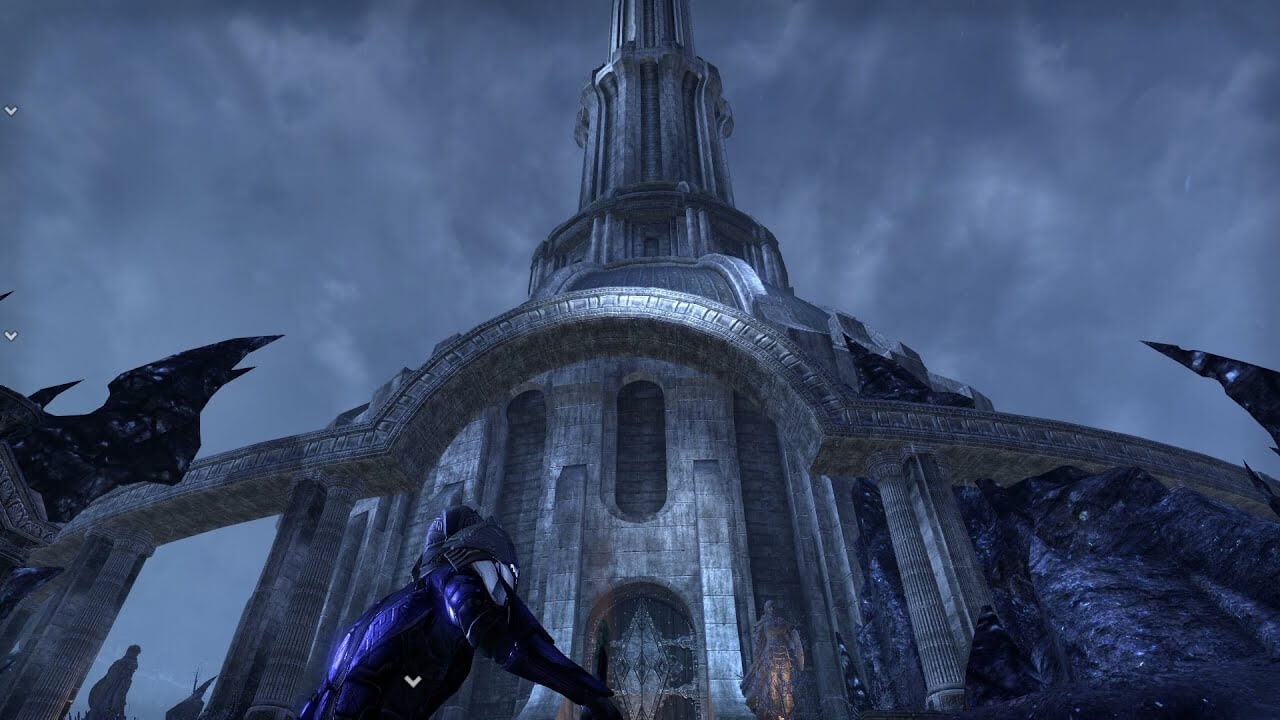
The ESO White Gold Tower is a thirteen-level dungeon in the Imperial City’s centre. It requires a group of 4 players; the minimum level requirement is level 45. The players can access this dungeon from various pathways – Irrigation Tunnels, the Lambent Passage and the Harena Hypogeum. It has a normal mode and a veteran mode.
ESO White Gold Tower Bosses and Enemies
This dungeon has:
Main bosses:
- The Adjudicator
- The Planar Inhibitor
- Molag Kena
Elite enemies:
- Crematorial Guards
- The Iron Swathed Glutton
- The Scion of Wroth
Imperial Warriors (Elite Guards):
- Cordius Pontifio
- Otho Numida
- Micella Carlinus
The Team
The selection of roles in the team completely depends on the player; however, the team should have at least the following:
- 1 Stamina DPS
- 1 Magic DPS
- 1 Healer
- 1 Tank
The Strategy
For ease of understanding, the strategy has been divided into three phases.
Phase I: Entering the Dungeon
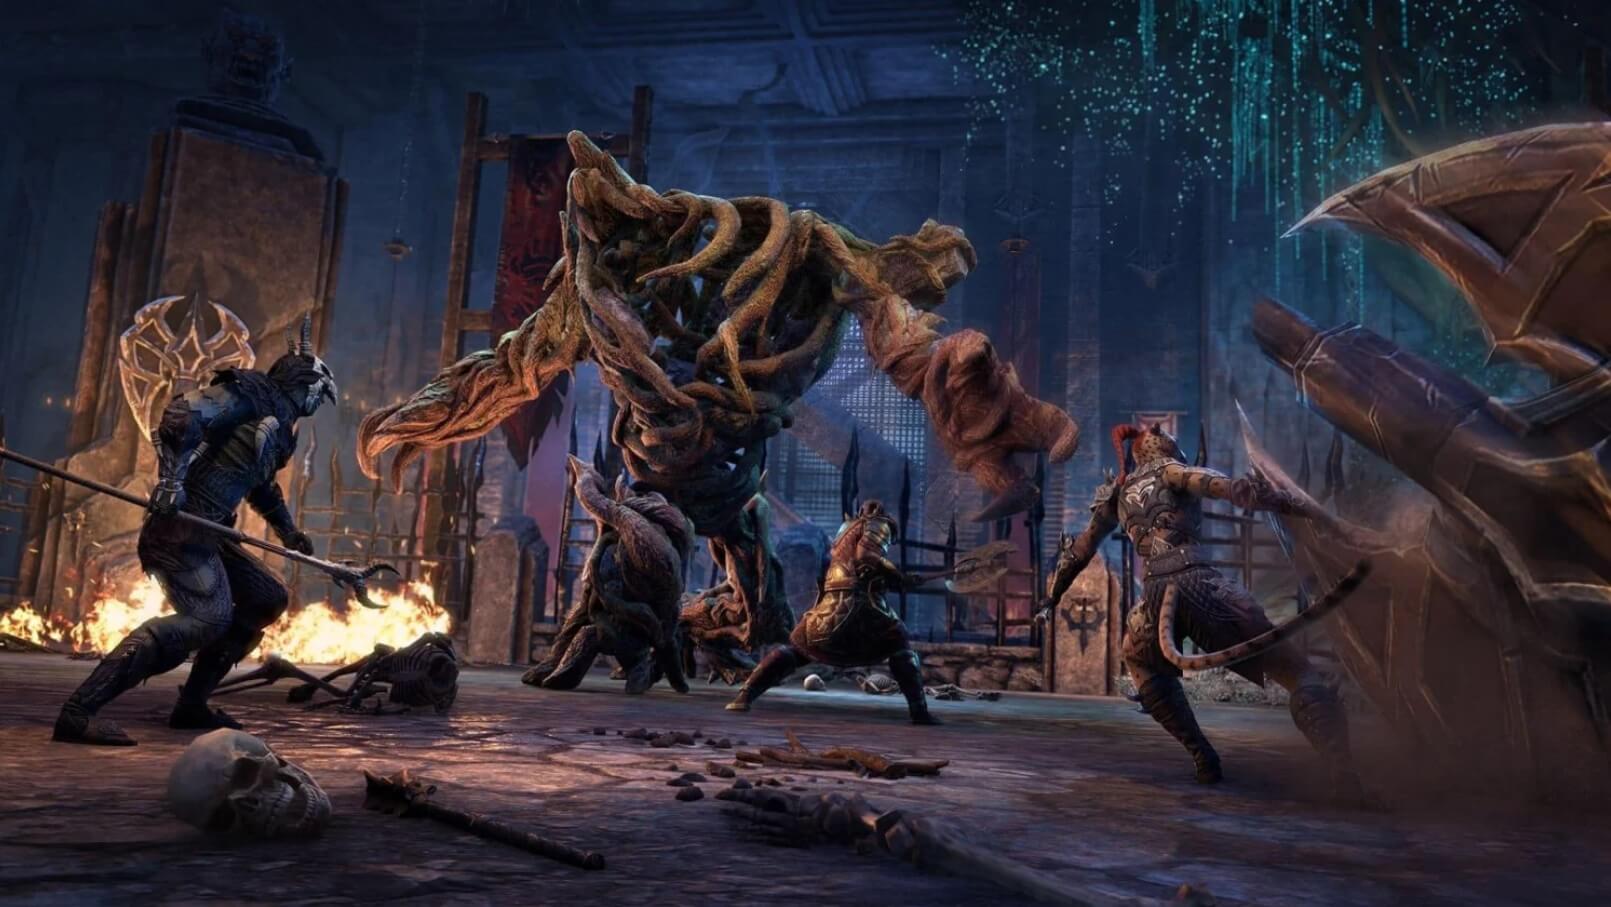
The ‘Iron-Swathed Glutton’ is the first elite enemy you encounter before entering the White Gold Tower Dungeon. His most vital attack is the ‘Poison Pools’. This enemy is fairly easy to defeat as long as you are wary of his poison attacks, which shifting positions can easily avoid.
Tip: Position yourself behind him, and have the Tank grab his attention while the other players attack from behind. If you are playing as the Tank, watch out for the heavy attacks.
Phase II: Inside The Dungeon
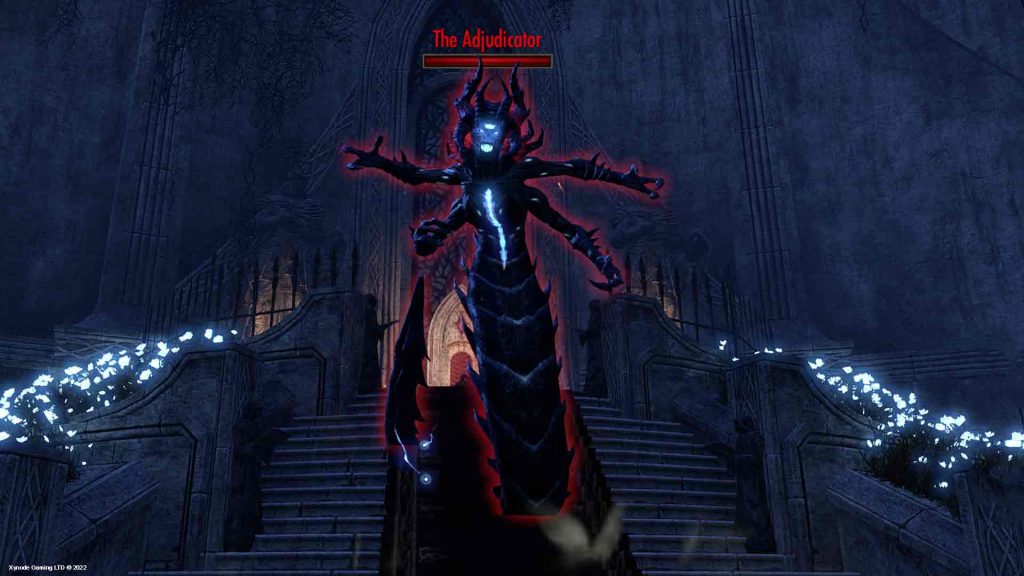
Upon entering the dungeon, the team is faced with their first boss, ‘The Adjudicator’, in the Throne Room.
The team should wait till she descends the stairs and reaches the bottom; only then should the team get in formation to launch attacks on her. The Tank should make the boss face towards them while the other three players position themselves at her sides and back in a triangle formation.
Tip: As some of the mechanics of The Adjudicator rely on targeting a single opponent, the team must form a triangle formation. This will make it easier for the team to figure out who is being targeted and act accordingly.
- Zombies: Amidst the battle, this boss continuously brings zombies into the room. The longer the fight duration, the more the zombies continue appearing. However, even though the number of zombies can be overwhelming, an easy way to kill them is by moving closer to The Adjudicator so that the AoE (abbreviated: Area of Effect) caused by her attacks can kill them instantly.
- Creeping Winter: This is one of the attacks that target a single opponent. The boss deploys multiple waves that travel along the ground, aimed at the direction of the player she faces. These waves also bounce off the walls and return. The trick to completely dismissing this attack is by moving to the sides of the boss after she has turned in the direction of where she will attack. This will result in the boss completely missing.
- Fire Tower: During the fight, the towers present at the left and right sides of The Adjudicator blast fire onto the floor of the room repeatedly. Be sure not to stand in their AoE as they rapidly damage the player.
- Coldharbour Justice: Amid the fight, the boss will randomly pick one player and teleport them into a locked cage lit on fire. The player trapped inside this cage will receive heavy flame damage. It is best to have a player with the lock-picking skill to escape this cage as soon as possible.
Phase III: The Elite Guards
As per order of strength:
- Micella Carlinus: She proves to be the toughest from the trio, hence she is the Tank of the trio. She has stuns, a Dragonknight banner, and can also cast engulfing flames causing the other two to do more damage to you. This boss must be defeated first.
- Cordius Pontifio: Cordius is a Nightblade as well as a Dragonknight, wielding dual swords in battle. If he is near his allies, he gains a buff that increases his attack power and reduces the damage he receives. The Tank should separate Cordius from his allies to avoid this. Apart from this, he also has a banner that causes heavy flame damage indicated by a red circle. Players should avoid the indicated area.
- Otho Numida: As Otho’s main focus during the battle is to heal the rest of the group. He is said to be the Healer of the trio. During the fights, Otho Numida will heal the other two Elite Guards but this can be easily avoided by interrupting him and stopping him. However, this boss does have a Dragonknight banner and yields a flame staff in battle. Be sure not to stand in the AoE of this particular flame staff as 1-2 hits will kill you off.
Phase IV: The Planar Inhibitor
- Before facing the Planar Inhibitor, you will be interrupted by The Scion of Wrath, a Daedric Titan. The Tank will be able to easily defeat this Titan and the team can move forward.
- The Planar Inhibitor: This boss is quite the destroyer of groups and a hard one to beat if you do not understand its mechanics.
The most important mechanic during this battle is the Pinion. The player with the Pinion gets complete control over the Fire Atronach. During the battle, this should be handed to the group’s tank.
- Flame Bursts: Every player as well as some random locations are lit on fire dealing very high damage. However, the AoE of this attack is very small, so be sure to avoid it as much as possible.
- Portals: During the fight, two out of four players’ screens will become completely greyscale (colors will be washed off). This is your cue to search for the portals around the room and destroy them as soon as possible!
- Magma Driver: After the pinion is closed a few times, the boss will dive into the ground and come back up again engaging in a high flame damage attack. Try to stay out of the AoE of this attack for as long as possible.
- Blue Phase: After launching two Magma Driver attacks, The Planar Inhibitor appears once again, only this time she is engulfed in blue flames.
Phase V: Blue Phase
The Blue Phase is highly complicated and requires perfect team coordination to overcome it. An easy strategy to overcome this phase is:
- The Lead and Lure Strategy: As the boss will focus mainly on the player that is handling the pillion, the ‘Lead and Lure Strategy’ focuses on making the boss constantly move from one corner of the room to another, making her unable to attack an individual player with her flames.
Once she dives into the floor, activating an AoE burst, she will be stunned for some time. This is the team’s cue to get back into the original position while throwing attacks on her simultaneously.
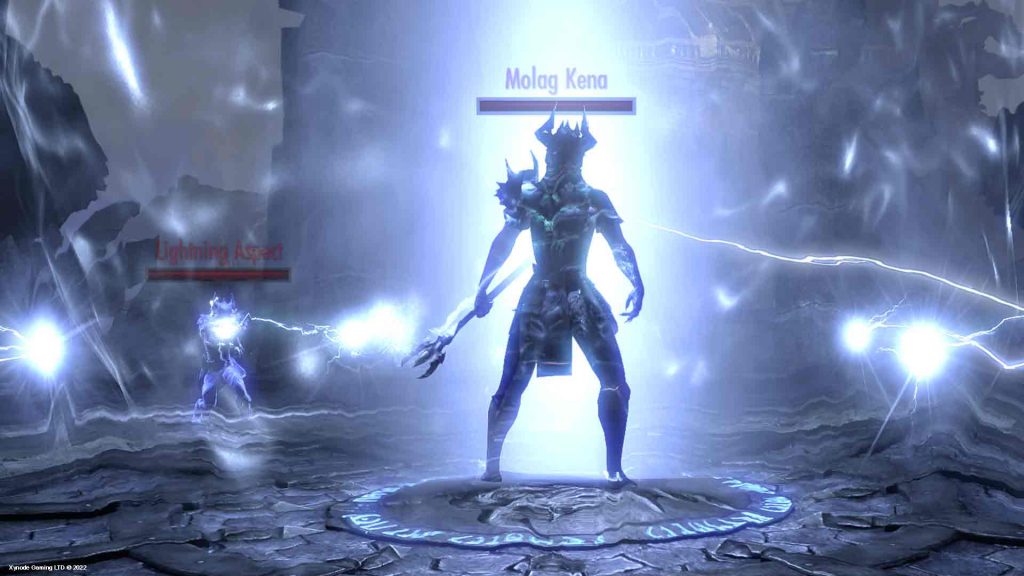
Phase VI: The Final Boss
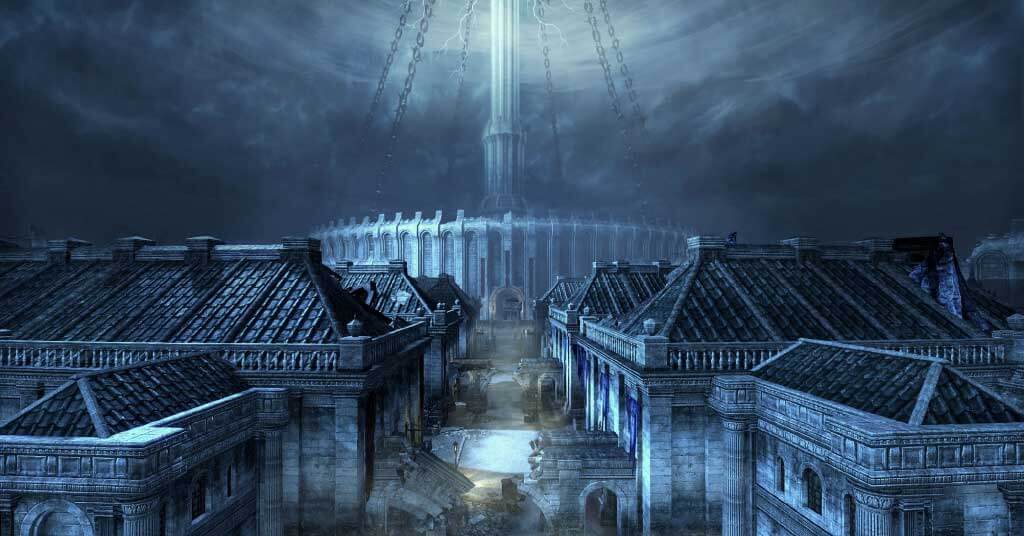
Molag Kena is the final boss of the White-Gold Tower. She sits atop the tower.
Tip: The Tank of the group should try to keep the boss in the center of the room as much as possible, since Kena moves all around the room, making it difficult to avoid her attacks.
- Electrified Surge: Molag Kena will occasionally cast a large angled cone effect in front of her, which can knock you across the room! An advantage is that her aim is quite inaccurate, so be sure to avoid standing in the way of this attack.
- Electrostorm Whirl: Kena summons a spinning strip of lightning across the room which serves as an instant-kill mechanism for any player caught in the attack. The team has to maneuver through this attack by jumping over it as well as staying behind Kena during this attack (except for the Tank).
- The Storm Atronach: Kena has an ability that can spawn a Storm Atronach at any given time during the fight (randomly). This Atronach chooses a player from the squad, walks up to them, and proceeds to stun the player. Additionally, it will also kill everyone present in its blast radius. The DPS should focus instantly on the atronach!
- Shield Phase: During the shield phase, Kena becomes immune to any damages as the adds (abbreviated: additional enemies) around her form a shield in front of her. The adds must be defeated to remove the shield. Molag Kena will enter the shield phase at 50-60% health and then again when at 25-30% health.
- EXECUTE: Once Kena’s health has drained to 20%, she will now go into “EXECUTE” mode. She will deploy all of her attacks on the group and this time, she will cast the Electrostorm Whirl 2x times at once! Be sure to maintain coordination in the group, follow the same tactics as before and you will be able to overcome this phase as well.
Conclusion
The White Gold Tower in ESO is the ultimate test of a solo effort, coordination, brainstorming strategies and, most importantly, group effort. Follow this guide and pave your path atop the tower, defeating all the enemies that stand in your way! Buy Elder Scrolls Online Gold or the ESO Gold from U7BUY to make your progress faster.